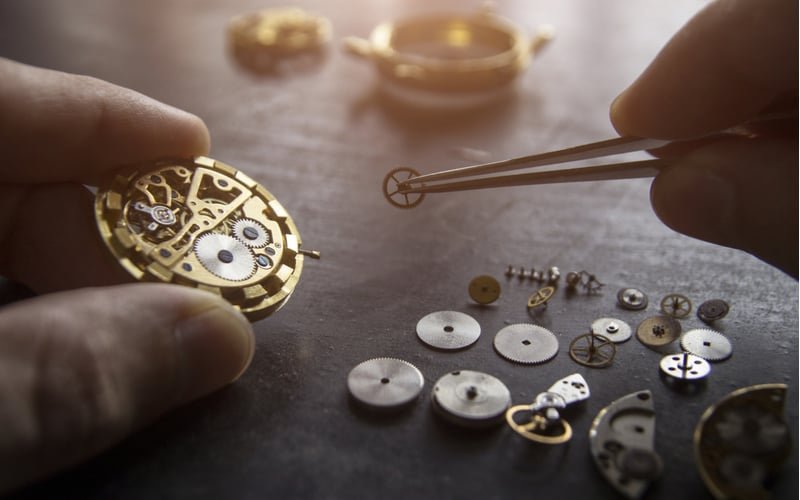
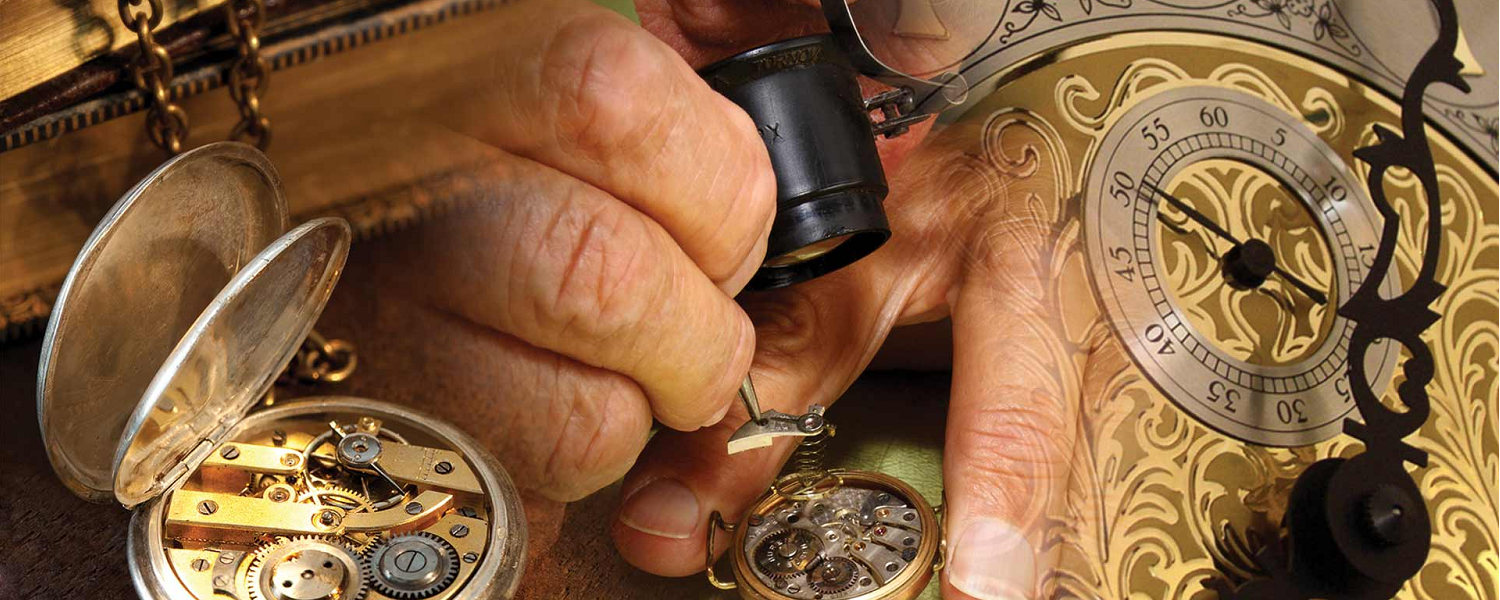
Repairing clocks at home may seem intimidating at first. However, with the right knowledge and tools, many issues can be easily fixed. Whether you own an antique mantel clock or a modern wall clock, learning how to repair common problems yourself can save both time and money. In this guide, we will cover helpful tips and tricks for successful DIY clock repair. By understanding how your clock works and following these steps, you’ll be well-equipped to tackle common clock issues with confidence.
1. Identify the Problem
To begin, the first step in any repair is identifying the specific issue your clock is experiencing. Does the clock stop ticking? Are the hands stuck? Or is the chime malfunctioning? By narrowing down the problem, you can better understand what needs fixing.
Tips for Problem Identification:
- Listen closely: Is the ticking sound irregular or non-existent? This can help point to a problem with the clock’s mechanism.
- Watch the hands: If the hands aren’t moving or are getting stuck, there could be an issue with the gear system.
- Check the chime: If the chime sounds off or doesn’t work, the chime mechanism may need adjusting.
2. Clean the Clock Mechanism
Next, it is important to note that dust and dirt are some of the most common culprits behind clock malfunctions. Cleaning the clock’s movement regularly can prevent many issues from arising. Dust particles can get into the gears, causing friction and eventually stopping the clock from working properly.
Cleaning Tips:
- Use a soft brush or compressed air: Gently remove dust from the gears, wheels, and other moving parts.
- Avoid harsh chemicals: Stick to mild cleaners or just a dry brush to avoid damaging delicate components.
- Check for grime buildup: Over time, grime can accumulate in the gears, so thorough cleaning may be required occasionally.
3. Lubricate Moving Parts
Moreover, clocks rely on the smooth movement of gears and springs to keep accurate time. Over time, friction builds up, especially in older clocks, and the parts can wear down. Proper lubrication helps reduce friction and ensures that the clock runs smoothly.
Lubrication Tips:
- Use clock oil: Specialized clock oil is recommended for lubricating the gears and pivots. Avoid using household oils like WD-40, which can cause damage.
- Apply sparingly: Too much oil can attract dust and dirt. A small drop on each pivot point is usually enough.
- Lubricate regularly: Lubricating the clock every few years, or as needed, helps extend the life of the movement.
4. Adjust the Pendulum
If your clock has a pendulum, minor adjustments can often fix timekeeping issues. A clock that runs too fast or too slow can usually be corrected by adjusting the pendulum length. In fact, a longer pendulum swings slower, while a shorter one swings faster.
Pendulum Adjustment Tips:
- Turn the adjustment nut: Located at the bottom of the pendulum, this nut can be turned to lengthen or shorten the pendulum.
- Test frequently: After adjusting, let the clock run for a day to see if the timekeeping improves. Continue making small adjustments as needed.
5. Replace Worn Parts
Sometimes, despite your efforts, the best solution is to replace worn or broken parts. Common clock parts that may need replacing include springs, gears, and hands. While this may sound complicated, many replacement parts are available online, and replacing them yourself can be straightforward.
Tips for Replacing Parts:
- Source parts carefully: Make sure to get the correct part by noting the clock’s model and dimensions.
- Follow tutorials: Many online guides and videos provide step-by-step instructions for replacing specific clock parts.
- Handle with care: Clock parts can be delicate, so handle them gently to avoid damaging other components.

6. Keep the Clock Level
In addition, ensuring your clock is level is crucial for its proper functioning. An unlevel clock can cause the pendulum or weight-driven mechanism to operate improperly, leading to inaccurate timekeeping or stalling.
Leveling Tips:
- Use a spirit level: Check both horizontal and vertical alignment, particularly for wall-mounted or mantel clocks.
- Adjust the clock’s position: For mantel or wall clocks, make small adjustments to their position until they are perfectly level.
- Test the ticking sound: A steady ticking sound means the clock is level and the pendulum is swinging evenly.
7. Patience is Key
Finally, clock repair requires a patient and methodical approach. Small adjustments often have a big impact, so don’t rush through the repair process. Take your time, and if something doesn’t work, go back and review your steps. This will help avoid unnecessary mistakes and ensure successful repairs.
Conclusion
Repairing a clock at home can be a rewarding and cost-effective experience. By following these DIY clock repair tips, you can address common issues like timekeeping problems, stuck hands, and chime malfunctions. With a little patience and the right tools, you’ll keep your clocks running smoothly for years to come.


